How to Prepare Your Logo for Embroidery: Files and Sizes
Custom Uniforms team · · 5 min read
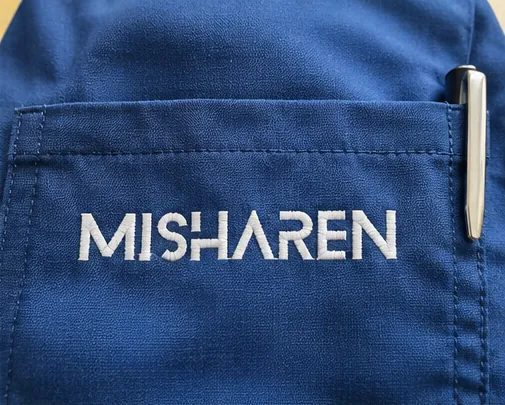
To prepare a logo for embroidery, send the clearest file you have, ideally a vector, with your colours named or coded, and tell the embroiderer where and how large the logo should be. Expect to simplify very fine detail and small text, because thread cannot reproduce everything a printer can. The logo is then digitised into a stitch file once, and that file is used for every order after.
Which logo files work
Embroidery starts from your artwork, so the file you send affects how quickly and accurately it can be turned into stitches.
| File | How well it works |
|---|---|
| Vector (AI, EPS, SVG, or a PDF exported from design software) | The most useful. Clean edges and exact shapes at any size. |
| High-resolution PNG or JPG | Good enough to start. A large, sharp image on a plain background is fine. |
| PDF of a letterhead or brochure | Often contains the logo as a vector; worth sending. |
| Screenshot, WhatsApp-forwarded image or photo of a signboard | Usable, but details may be guessed. Expect questions. |
If a designer or printer made your logo, ask them for the original file. Many organisations have it somewhere and simply have not looked. WhatsApp compresses images, so if you can, send the file as a document rather than as a photo.
Simplify detail and small text
A logo designed for a website or a signboard is usually seen large. On a shirt chest or a cap front it shrinks to a few centimetres, and stitches have a physical width that pixels do not. A few common changes make a logo work in thread:
- Small text. Taglines, addresses and phone numbers inside a logo rarely read clearly once stitched. Leave them out, or stitch them as a separate line in a larger size.
- Thin lines. Hairline outlines may look broken. Thicken them slightly or remove them.
- Gradients and shadows. Thread is a solid colour, so a gradient becomes bands of colour. Choose one flat colour instead.
- Tiny shapes. Small dots, stars or textures can merge into one blob. Enlarge or drop them.
The aim is a version that is clearly recognisable as your logo at the size it will be worn. Many organisations keep this simplified version as a separate “embroidery logo” and use it on every garment.
Colours and thread
Embroidery thread comes in a wide but fixed range of shades, so thread colours are matched as closely as possible to your brand colours rather than mixed exactly like ink. To help:
- Give colour codes if you have them, such as Pantone, CMYK or hex values from your brand guide.
- Send a photo of an existing embroidered or printed item whose colour you like, taken in daylight.
- Keep the number of colours modest. Each colour is a separate thread, and fewer colours usually look cleaner at small sizes.
Think about the garment colour too. A navy logo on a navy polo disappears; a white or gold outline can rescue it. If you are embroidering on several garment colours, you may need two versions of the colour scheme, one for light fabrics and one for dark.
Sizes for chest, sleeve and cap
Size is a matter of the space available and how far away the logo needs to be read. As a general guide:
- Left chest. The most common position on shirts, polos, scrubs and lab coats. Modest in size, so it sits neatly between the shoulder seam and any pocket. Our guide to logo placement on scrubs covers chest positions in detail.
- Sleeve. Narrower than the chest, so a shorter or more compact version of the logo, or a department name, often works better than the full mark.
- Cap front. Height is limited by the curve and the seams of the cap, so wide logos fit more easily than tall ones. Tell us the cap type, because a structured cap and a soft cap behave differently.
- Back. A larger logo or name can go across the upper back, but large areas of embroidery are heavy and stiff on light fabrics.
If your logo is tall or square rather than wide, consider a horizontal version for caps and sleeves. For school crests, our school badge embroidery guide explains how to handle a single badge across junior and senior sizes.
What digitising is
An embroidery machine does not read a PNG or a PDF. Someone has to convert your logo into a stitch file that tells the machine where each stitch goes, in what direction, in what order and in which thread colour. This is called digitising.
It is partly technical and partly judgement. The person digitising decides how dense the fill should be, how to keep small letters legible, and how to stop the fabric puckering. The same logo may be digitised slightly differently for a stretchy polo than for a woven shirt.
Why digitising is done once
A good stitch file takes time to prepare and test. Once it has been approved on a sample, it should be stored and reused, not redone every order. That keeps the logo identical across reorders, new joiners’ uniforms and different batches of garments. If your logo changes, or you need a new size, a new file is made; otherwise the approved one stays in use.
Before your first order, ask whether there is a set-up charge for digitising, and confirm that the file will be kept on record for future orders.
How we prepare your logo for embroidery
At our unit in Konni, Pathanamthitta, Kerala, a clear PNG, JPG or PDF is enough to start, and a vector file is even more useful. You can send it on WhatsApp. We digitise your logo once and keep it on record for repeat orders, and any one-time digitising charge is confirmed in the quote along with thread colours, size and position. We then stitch a sample and send you a photo on WhatsApp, so you can check the size, colours and spelling before the full quantity is embroidered.
To get your logo ready for stitching, see our embroidery service or send us your logo.